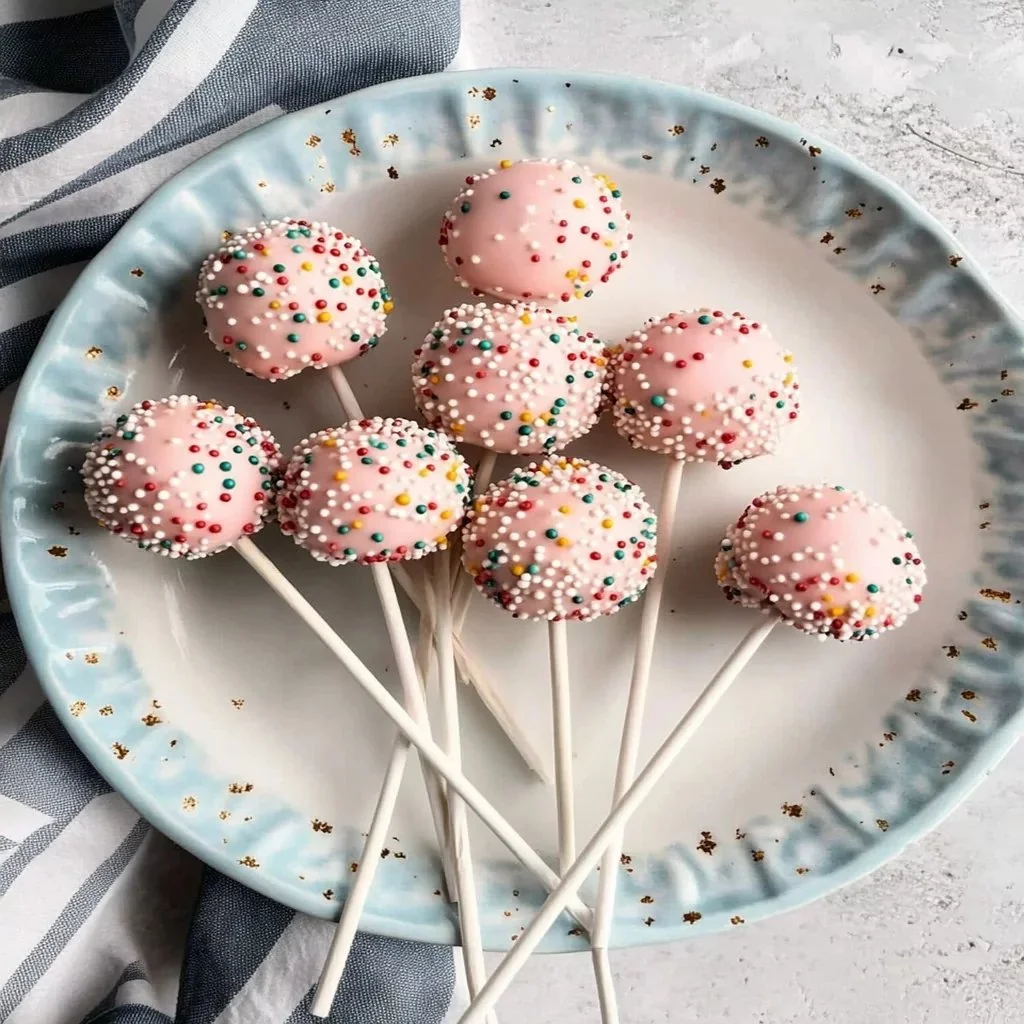
How to Make Starbucks Copycat Birthday Cake Pops at Home
If you’re a fan of Starbucks’ delicious Birthday Cake Pops, you’re in for a treat! These delightful confections are not only a festive addition to any celebration but also incredibly easy to make at home. In this article, we’ll guide you through creating your own Starbucks Copycat Birthday Cake Pops, complete with a perfect cake recipe, frosting, and dipping methods. Let’s get started!
What Are Cake Pops?
Cake pops are bite-sized desserts made from cake and frosting, shaped into balls, and coated with chocolate or candy melts. They originated from the idea of making use of leftover cake, providing a scrumptious treat that’s great for parties, snacks, or special occasions. Birthday Cake Pops are especially popular for celebrations thanks to their vibrant colors and fun flavors.
Ingredients You’ll Need
For the Cake:
- 1 box of vanilla or funfetti cake mix
- Ingredients as specified on the cake mix box (usually eggs, oil, and water)
For the Frosting:
- 1 cup of butter, softened
- 4 cups powdered sugar
- 1/4 cup milk
- 1 teaspoon vanilla extract
- Sprinkles (for added fun and color)
For Coating:
- 1 1/2 cups white chocolate or candy melts
- Additional sprinkles for decoration
- Lollipop sticks or candy stick
Step-by-Step Instructions
Step 1: Bake the Cake
- Preheat your oven to the temperature specified on the cake mix box.
- Prepare the cake mix according to the instructions—add eggs, oil, and water as directed.
- Pour the batter into a greased cake pan and bake for the time specified on the box. Once it’s done, allow it to cool completely.
Step 2: Make the Frosting
- In a mixing bowl, whip the softened butter until creamy.
- Gradually add the powdered sugar, continuing to mix until well incorporated.
- Add the milk and vanilla extract, continuing to beat until the frosting reaches a smooth consistency. It should be thick enough to hold its shape.
Step 3: Crumble the Cake
- Once the cake is completely cooled, break it into chunks and place it into a large mixing bowl.
- Add a few tablespoons of frosting to the crumbled cake and mix by hand until it reaches a dough-like consistency. You want just enough frosting to bind the cake together without making it overly soggy.
Step 4: Form the Cake Balls
- Use your hands to roll the mixture into small balls, about 1 inch in diameter.
- Place these cake balls onto a baking sheet lined with parchment paper and refrigerate for about an hour to firm up.
Step 5: Dip the Cake Pops
- Meanwhile, melt the white chocolate or candy melts in a microwave-safe bowl; heat in intervals of 30 seconds, stirring in between, until smooth.
- Take the chilled cake balls out of the refrigerator. Dip the tip of each lollipop stick into the melted chocolate, then insert it into the center of the cake ball to help hold it in place.
- Next, carefully dip each cake pop into the melted chocolate, ensuring they are fully coated. Allow any excess chocolate to drip off.
Step 6: Decorate
- While the coating is still wet, immediately sprinkle with colorful sprinkles to add that festive birthday touch.
- Stand the cake pops upright in a styrofoam block or a cake pop stand until the chocolate hardens.
Enjoy Your Homemade Cake Pops!
Once your Starbucks Copycat Birthday Cake Pops are set, they’re ready to be served! These delightful treats are sure to impress at any birthday party or gathering. Not only do they taste great, but they also provide a sweet visual appeal.
Feel free to customize your cake pops with different colors of candy melts or themed sprinkles to match your party’s theme. The best part? You can enjoy a café favorite right from the comfort of your home!
Conclusion
Making Starbucks-style Birthday Cake Pops at home is easier than you might think. With a simple cake recipe and some creativity, you can whip up these tasty treats in no time. So, gather your ingredients, invite some friends over, and let the cake pop party begin!
Happy Baking! 🎉
This article is designed to guide you through the joyous process of creating your own cake pops, bringing a delightful touch to any celebration. Enjoy the sweetness of DIY and the pleasure of sharing with loved ones!