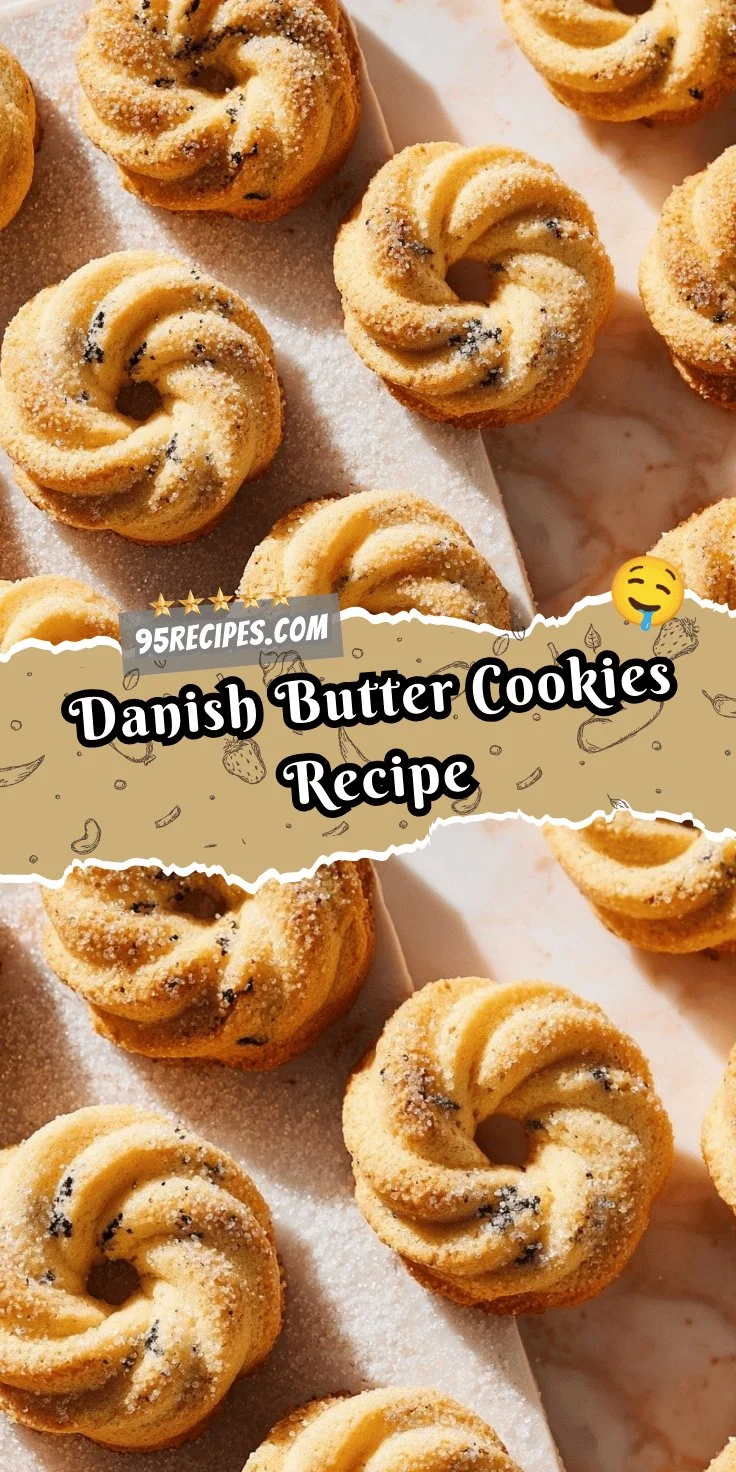
The Delightful Art of Danish Butter Cookies
Danish butter cookies are not just any cookies; they are a beloved treat that brings warmth and joy to countless homes around the world. With their buttery flavor, melt-in-your-mouth texture, and charming aesthetics, these cookies deserve a special place in your baking repertoire. In this article, we will guide you through a simple yet delightful recipe for making Danish butter cookies, ensuring that you can enjoy them fresh from your oven.
A Brief History of Danish Butter Cookies
Originating from Denmark, butter cookies are traditionally known as "småkager." These cookies come in various shapes and flavors, often adorned with icing or sprinkles. Their rich buttery taste is attributed to the high-quality ingredients used in the recipe—chiefly, fine butter that creates a tender, crumbly texture. Today, Danish butter cookies are a popular treat enjoyed during holidays and celebrations, often presented in beautifully decorated tins.
Ingredients You’ll Need
To make a classic batch of Danish butter cookies, gather the following ingredients:
- 2 cups (240g) all-purpose flour
- 1 cup (230g) unsalted butter, softened at room temperature
- 3/4 cup (90g) powdered sugar
- 1/2 teaspoon vanilla extract
- 1/4 teaspoon almond extract (optional)
- 1/4 teaspoon salt
- 1 egg yolk (for egg wash)
- Extra sugar and sprinkles for decoration (optional)
Step-by-Step Instructions
Step 1: Prepare Your Ingredients
Start by preheating your oven to 350°F (180°C). Ensure that your butter is softened; this will make it easier to cream with the sugar.
Step 2: Cream the Butter and Sugar
In a large mixing bowl, add the softened butter and powdered sugar. Using an electric mixer or a whisk, cream the butter and sugar together until the mixture is light and fluffy. This process usually takes about 2-3 minutes.
Step 3: Add Flavorings
Mix in the vanilla extract and almond extract (if using). Remember that the flavor of the butter is paramount, so choose quality extracts for the best results.
Step 4: Combine Dry Ingredients
In a separate bowl, whisk together the all-purpose flour and salt. Gradually add this mixture to the butter-sugar mixture, combining until a soft dough forms.
Step 5: Shape the Cookies
Using a piping bag fitted with a star tip, or even just a spoon, shape your cookies onto a baking sheet lined with parchment paper. You can pipe them into traditional round shapes or make lovely rosettes. If you prefer, you can also roll the dough into balls and flatten them slightly with a fork.
Step 6: Add the Finishing Touches
For an extra layer of flavor and texture, brush the tops of the cookies with egg yolk and sprinkle a bit of sugar or decorative sprinkles.
Step 7: Bake
Place the baking sheet in the preheated oven and bake for 10-12 minutes, or until the edges begin to turn a light golden brown. Be mindful not to overbake, as you want to maintain their tender texture.
Step 8: Cool and Enjoy
Once baked, remove the cookies from the oven and allow them to cool on the baking sheet for 5 minutes before transferring them to a wire rack to cool completely. Enjoy them fresh, or store them in an airtight container for later—if they last that long!
Conclusion
Making your own Danish butter cookies at home is an enjoyable and rewarding experience. Whether you’re treating yourself or sharing them with loved ones, these cookies are sure to impress. The recipe is versatile, allowing for variations in flavor and decoration. So, put on your apron, and get ready to create a batch of these delightful treats that are perfect for any occasion!
Happy baking!