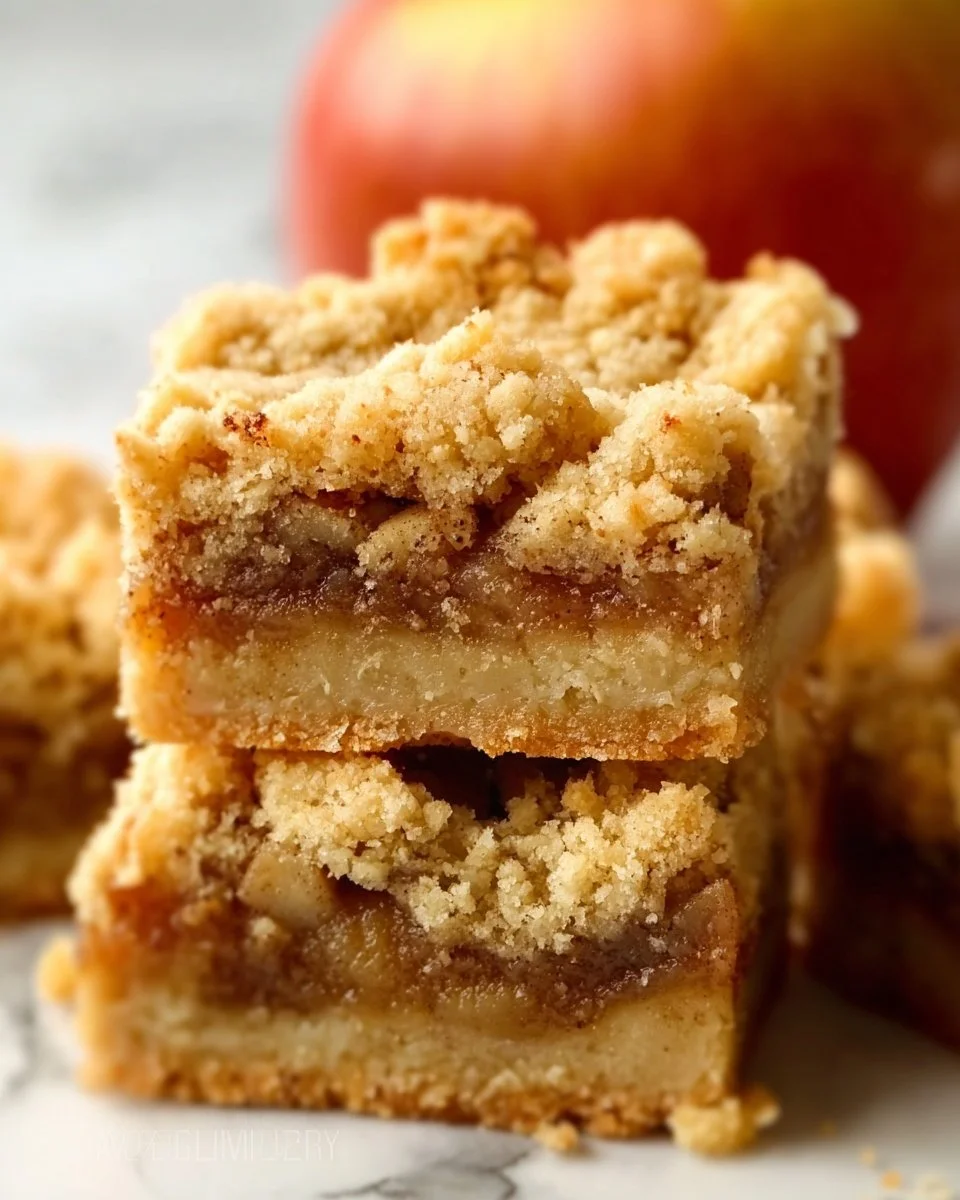
Irresistible Apple Pie Bars: A Recipe for All Occasions
When it comes to classic desserts, few can compete with the beloved apple pie. But what if you could enjoy all the warm, cinnamon-spiced flavors of apple pie in a more convenient form? Enter apple pie bars! These delicious treats combine the comforting essence of a traditional apple pie with the easy grab-and-go convenience of a bar cookie. Whether you’re hosting a gathering, packing a picnic, or simply craving something sweet, these apple pie bars are sure to satisfy.
Ingredients
For the Crust and Topping:
- 2 cups all-purpose flour
- 1 cup unsalted butter, softened (2 sticks)
- 1/2 cup granulated sugar
- 1/4 cup brown sugar, packed
- 1 teaspoon vanilla extract
- 1/2 teaspoon salt
- 1/2 teaspoon cinnamon
- 1/4 teaspoon baking powder
For the Filling:
- 4 cups apples, peeled, cored, and diced (Granny Smith or Honeycrisp work great)
- 1/3 cup granulated sugar
- 1 teaspoon cinnamon
- 1 tablespoon lemon juice
- 2 tablespoons all-purpose flour
Instructions
Step 1: Prepare the Crust
- Preheat the Oven: Preheat your oven to 350°F (175°C) and grease a 9×13-inch baking pan.
- Make the Crust Mixture: In a large mixing bowl, cream together the softened butter, granulated sugar, and brown sugar until light and fluffy. Mix in the vanilla extract.
- Combine Dry Ingredients: In another bowl, whisk together the flour, salt, cinnamon, and baking powder.
- Mix Together: Gradually add the dry ingredients to the butter mixture, stirring until combined.
- Set Aside: Reserve about one cup of the crust mixture for the topping, pressing the remainder into the bottom of the prepared baking pan to form an even layer.
Step 2: Prepare the Filling
- In a large bowl, toss the diced apples with granulated sugar, cinnamon, lemon juice, and flour until well-coated.
- Layer the Apples: Spread the apple mixture evenly over the crust in the baking pan.
Step 3: Add the Topping
- Crumble the Reserved Mixture: Take the reserved crust mixture and crumble it over the top of the apples, ensuring it’s evenly distributed.
- Bake: Place the pan in the preheated oven and bake for 30-35 minutes or until the topping is golden brown and the apples are tender when pierced with a fork.
Step 4: Cool and Serve
- Cool the Bars: Remove the pan from the oven and allow it to cool on a wire rack for at least 20 minutes.
- Slice and Serve: Cut into bars and serve warm, at room temperature, or chilled. These bars are perfect on their own or can be topped with a scoop of vanilla ice cream for an extra special treat!
Variations and Tips
- Add Nuts: For an added crunch, consider folding in some chopped walnuts or pecans into the apple filling.
- Spice it Up: Feel free to experiment with other spices such as nutmeg or ginger for a twist on the traditional flavor.
- Storage: Store leftover apple pie bars in an airtight container in the refrigerator for up to a week. They can also be frozen for up to three months.
Conclusion
These apple pie bars are the perfect blend of flavors and textures—a buttery, crumbly crust enveloping tender, spiced apples. They are not only simple to prepare but also offer a taste of fall any time of the year. Try this recipe for your next gathering or simply for a delightful treat to enjoy at home. With every bite, you’ll be reminded why apple pie has secured its place in the hearts of dessert lovers everywhere. Enjoy!